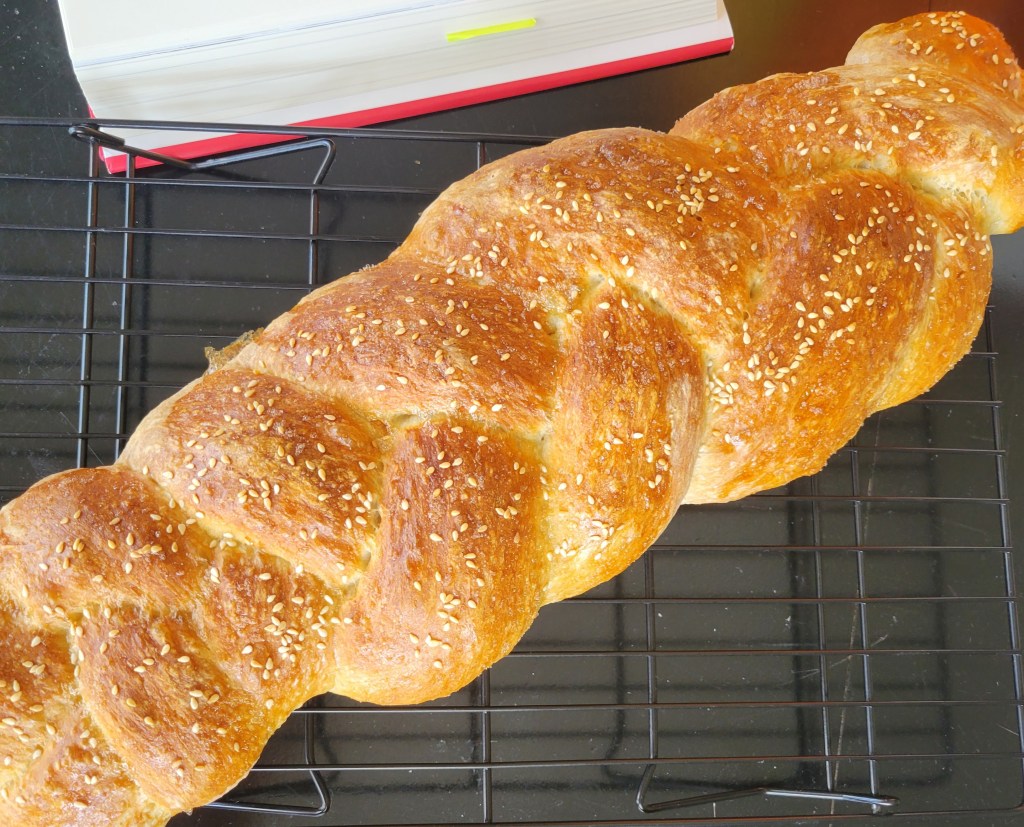
As far as plain-Jane “Italian” bread goes, this is it. This loaf promises a bakery-style loaf and delivers.
I really like that the Italian loaves in this book make sure to include a biga. (I discussed biga in the Ciabatta page briefly.) Biga adds flavor and I really like a loaf that requires a little more process and a little more time to develop flavor. While making this, I accidentally let my biga sit for 18 hours rather than the 12-16 hours recommended. The world did not end.
Altogether, the process for this loaf is very similar to the ciabatta loaf. A shorter rise time, but an expectation that you deflate the dough regularly during that rise time. My favorite difference, though, is the shaping. The Crusty Italian Bread recipe calls for a braided loaf. The King Arthur Baker’s Companion does its best to make sure that your loaf turns out as a gorgeous centerpiece.
For daily use, I have successfully frozen this bread and have been using it for a couple weeks for toasts and sandwiches.
About a half hour before I had a couple friends over, I decided that pizza might be good to have a little later in the evening. And rather than go for my usual pizza dough (Cookie + Kate Whole Wheat Pizza Dough, where I always use All-Purpose flour rather than whole wheat), I decided that it would be a great idea to make some content for the blog. I want to say, at this point, I had already made like 3 King Arthur Flour Baking Companion recipes that week. I did not need to put this extra work on myself, but this recipe said that it would be the Easiest Pizza.
Deciding to believe in King Arthur Flour’s self proclamations tends to be a very reasonable and good thing to do.
It takes only a few minutes to toss everything together. The main warning with this dough, is that there is a 1-2 hour rise time. Make sure that you have a big enough bowl to contain the rise as well. My rise ended up two inches or so taller than the container it was in after only one hour!
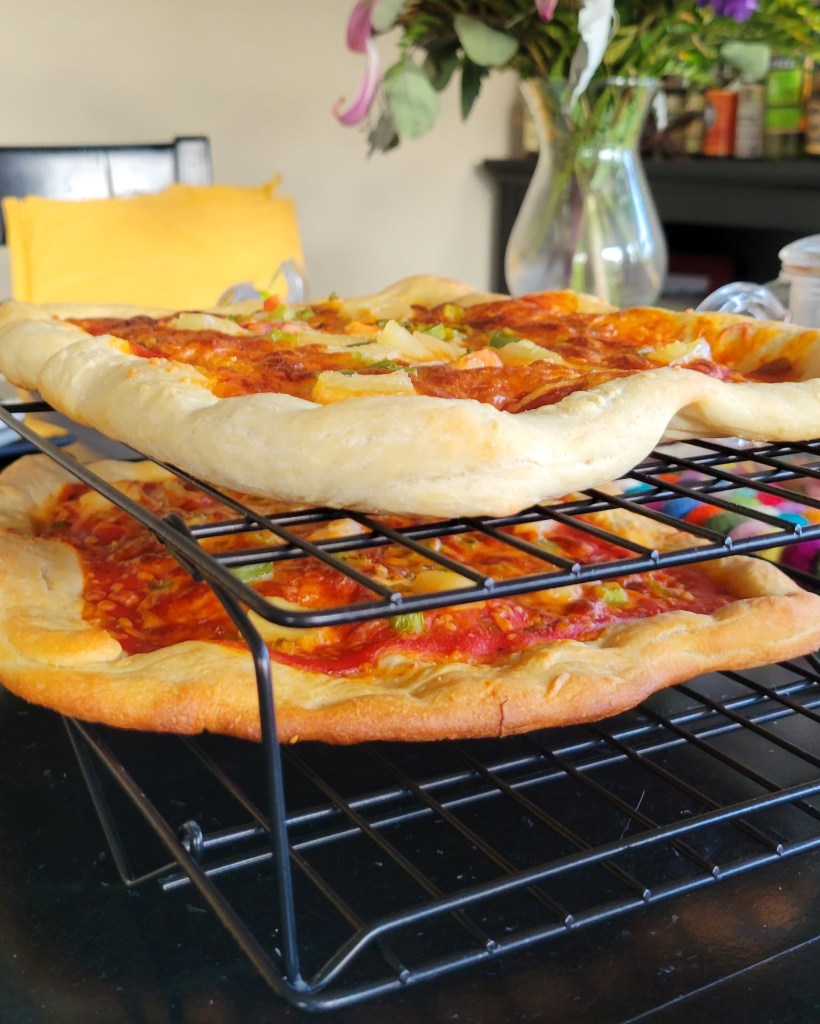
Per the directions, I cut the dough into four pieces. Per my baking sheets and hunger, I decided to make them into rectangles in order to make two at a time and had my friends each make their own pizza to their liking.
We used pineapple, jalapenos, tomatoes, and green bell peppers.
My favorite bit of this recipe is the insight at the end. The recipe tells you to immediately transfer the pizzas to a cooling rack to prevent soggy bottoms. I had never done this before and it was a life-altering experience. I have used that method at least once since making these pizzas with another recipe.
Altogether, the dough is pretty basic taste-wise, but for a dish where you want the ingredients to take center-stage, this is a winner.
As with any pizza, this made for excellent left overs and could be something nice to store in the freezer as weeknight meal-prep.
Stunning and shockingly simple. I made this loaf for a friend’s birthday party. I managed to make it while working.
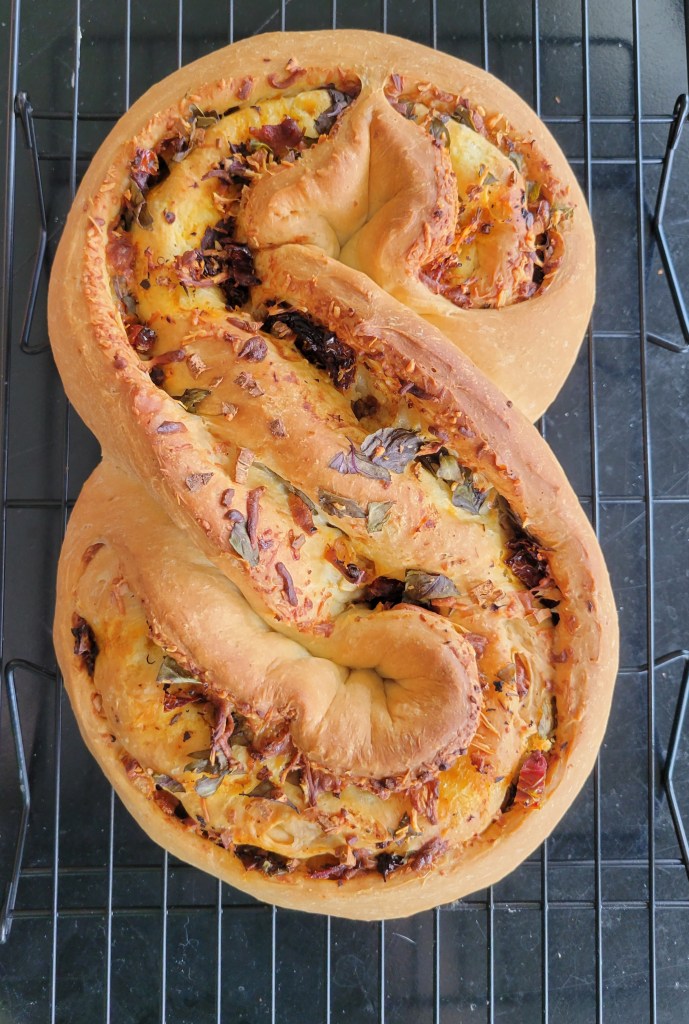
The loaf is an enriched white bread filled with all sorts of goodness. The rise times were long enough that I managed to time the filling portion over my lunch break. This is kind of necessary since there’s a lot of rolling out, filling, rolling up, and shaping that needs to be done prior to the second rise.
The shaping is incredible. The loaf does not look too impressive in its figure-eight shape initially. The rise fills it out and the bake sets it perfectly.
Beware, however. This loaf will make your kitchen and every adjacent room smell like pizza.
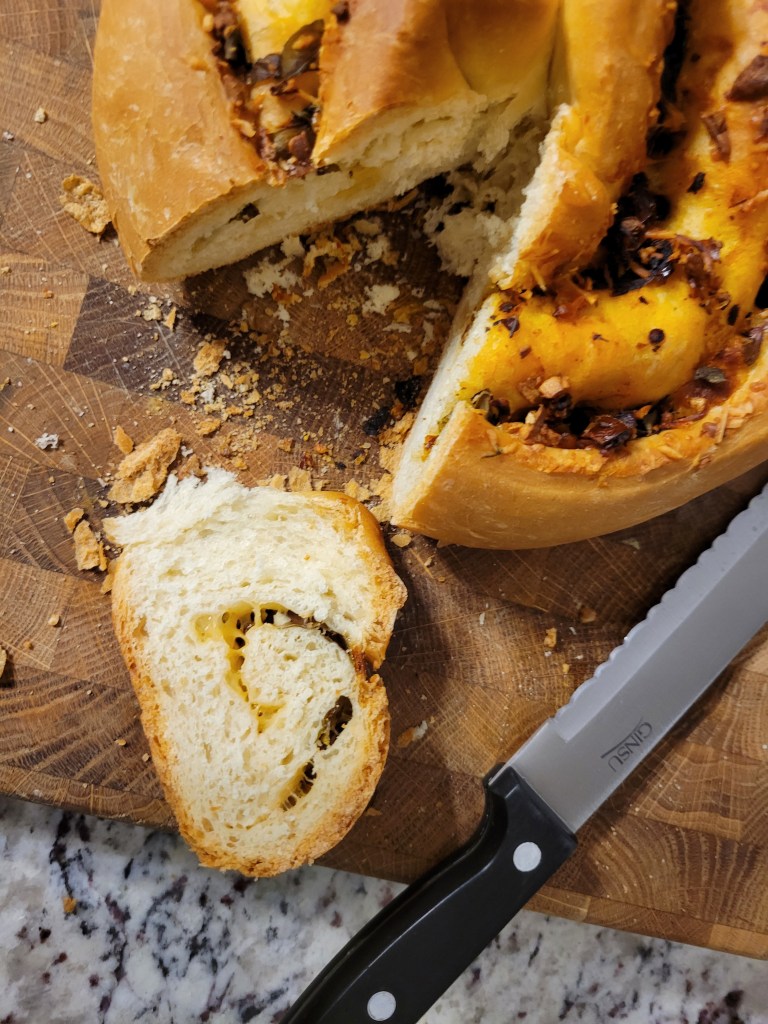
My one qualm with this loaf was that the tomatoes that were exposed in the oven burned to a terribly bitter crisp. I had to cut the burned bits off with kitchen shears. That was a little more work than I was expecting, and I’m not entirely sure where I went wrong. I assume I cooked the loaf a bit too long or had the rack a bit too high.
This piece was a hit at a gathering. There were about 8 people and only about 4 small slices left at the end of the evening.
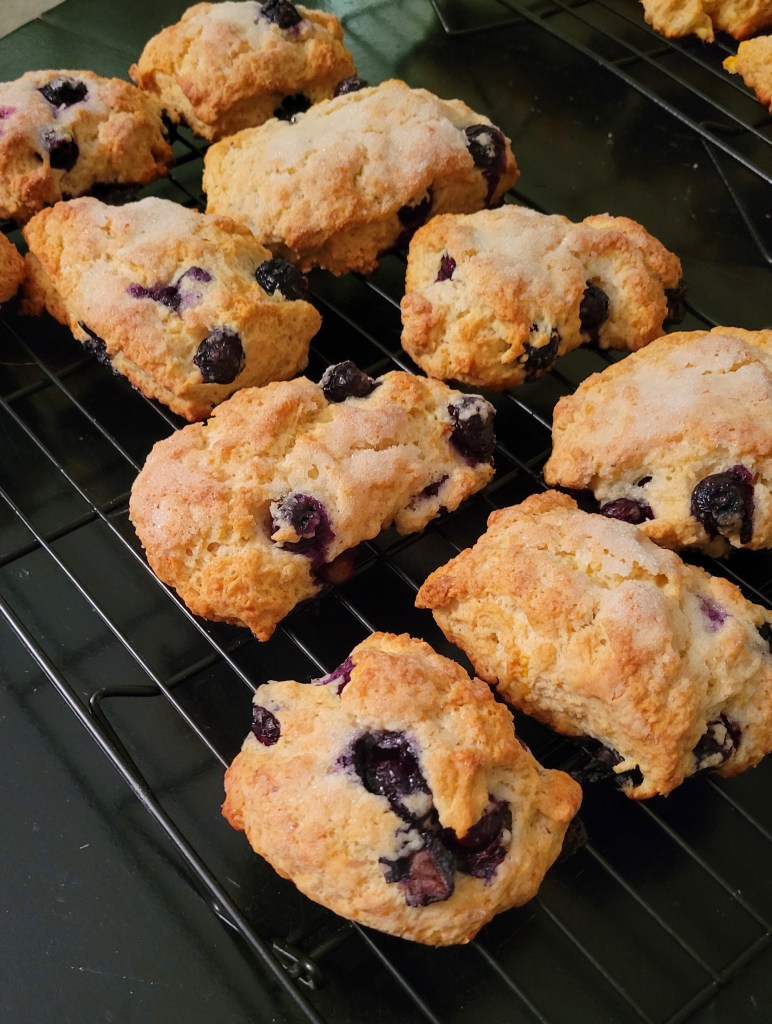
I feel a bit bad posting this one during the middle of August, after most of blueberry season is long-gone. Alas, I struggled with what to say about this one. It is so straightforward and delicious. As long as you follow the instructions, you can’t go wrong at all.
Turns out I made this recipe the same evening as the Peach Nutmeg Scones. Both recipes took so little time that it was very easy to wrap up both in an evening. This so happened to be just in time for the brunch picnic the next morning.
I really like the texture of these. The are a little more crumby than the Peach Nutmeg Scones but equally tasty. The lemon zest adds to the summer-y feel of these scones as well. I think it was a perfect addition to the picnic. I also think that the two types of sweet scones were different enough that you could easily have one of each.
Of the few that were leftover, I was able to freeze them and reheat them in my toaster oven at 350F for ten minutes. They made for a quick, simple breakfast.
I had made the recipe found in the King Arthur Baking Conpanion previously. However, I was in a time crunch and completely forgot to add the butter at the right time. I tried to grate the butter in and make do but the scones failed spectacularly.
In fact they never really rose and turned into some sort of odd mix between muffin tops and soft cookies.
So I tried again! Pro tip: this recipe is so easy if you follow the instructions.
I had no issues at all. Previously, the dough was far too sticky and the butter was tough to incorporate. When I added the butter in at an appropriate time, the dough was sticky but not unworkable. They turned out wonderfully flavorful and rose well.
The scones store wonderfully in the freezer and can be reheated in a toaster oven at 250-300°F over ten minutes. Mine didn’t last a week.
I have a great significant other. The recipe for this Blushing Peach Pie calls for a raspberry syrup. Knowing full well that I would have to deal with all the peaches and making and unfamiliar pasty, I was just going to buy it at the store — a valid option according to the Baker’s Companion. He decided to make the raspberry syrup for me. I cannot recommend anything different. This pie must be made with really good raspberry syrup.
The peaches I got at the local farmers market so they were also wonderful. I recommend listening to something while pitting all those peaches. Especially if they are they type that have a tendency to get split pits or don’t fall off the pit easily.
The real difficulty of pie lies in the crust. At least, the real difficulty for me, lies in the crust. I always think that pastry crust needs a gentle hand and perfect temperatures to avoid raw dough and a soggy bottom. For this recipe, I followed the Basic Pie Crust recipe with the Medium flake method. According to the Baker’s Companion, medium flake is the most common pie crust. With only 4 ingredients (flour, salt, unsalted butter, and water), this crust was fabulously simple-looking. However, there are over 2 pages of instructions on how to properly handle all of the dough.
Following all of those instructions to the letter, I was able to make a dough that was not too sticky and not too dry. After refrigerating the dough for 30 minutes, as prescribed, it rolled out easily into some of the thinnest pie crust I have seen.
Perhaps I have the wrong idea of pie crust in my head. I always think of the too-thick pie crust that is found in your standard grocery store bakery. It is too thick for me anyway. I like the pies more for the filling than the crust. Always have.
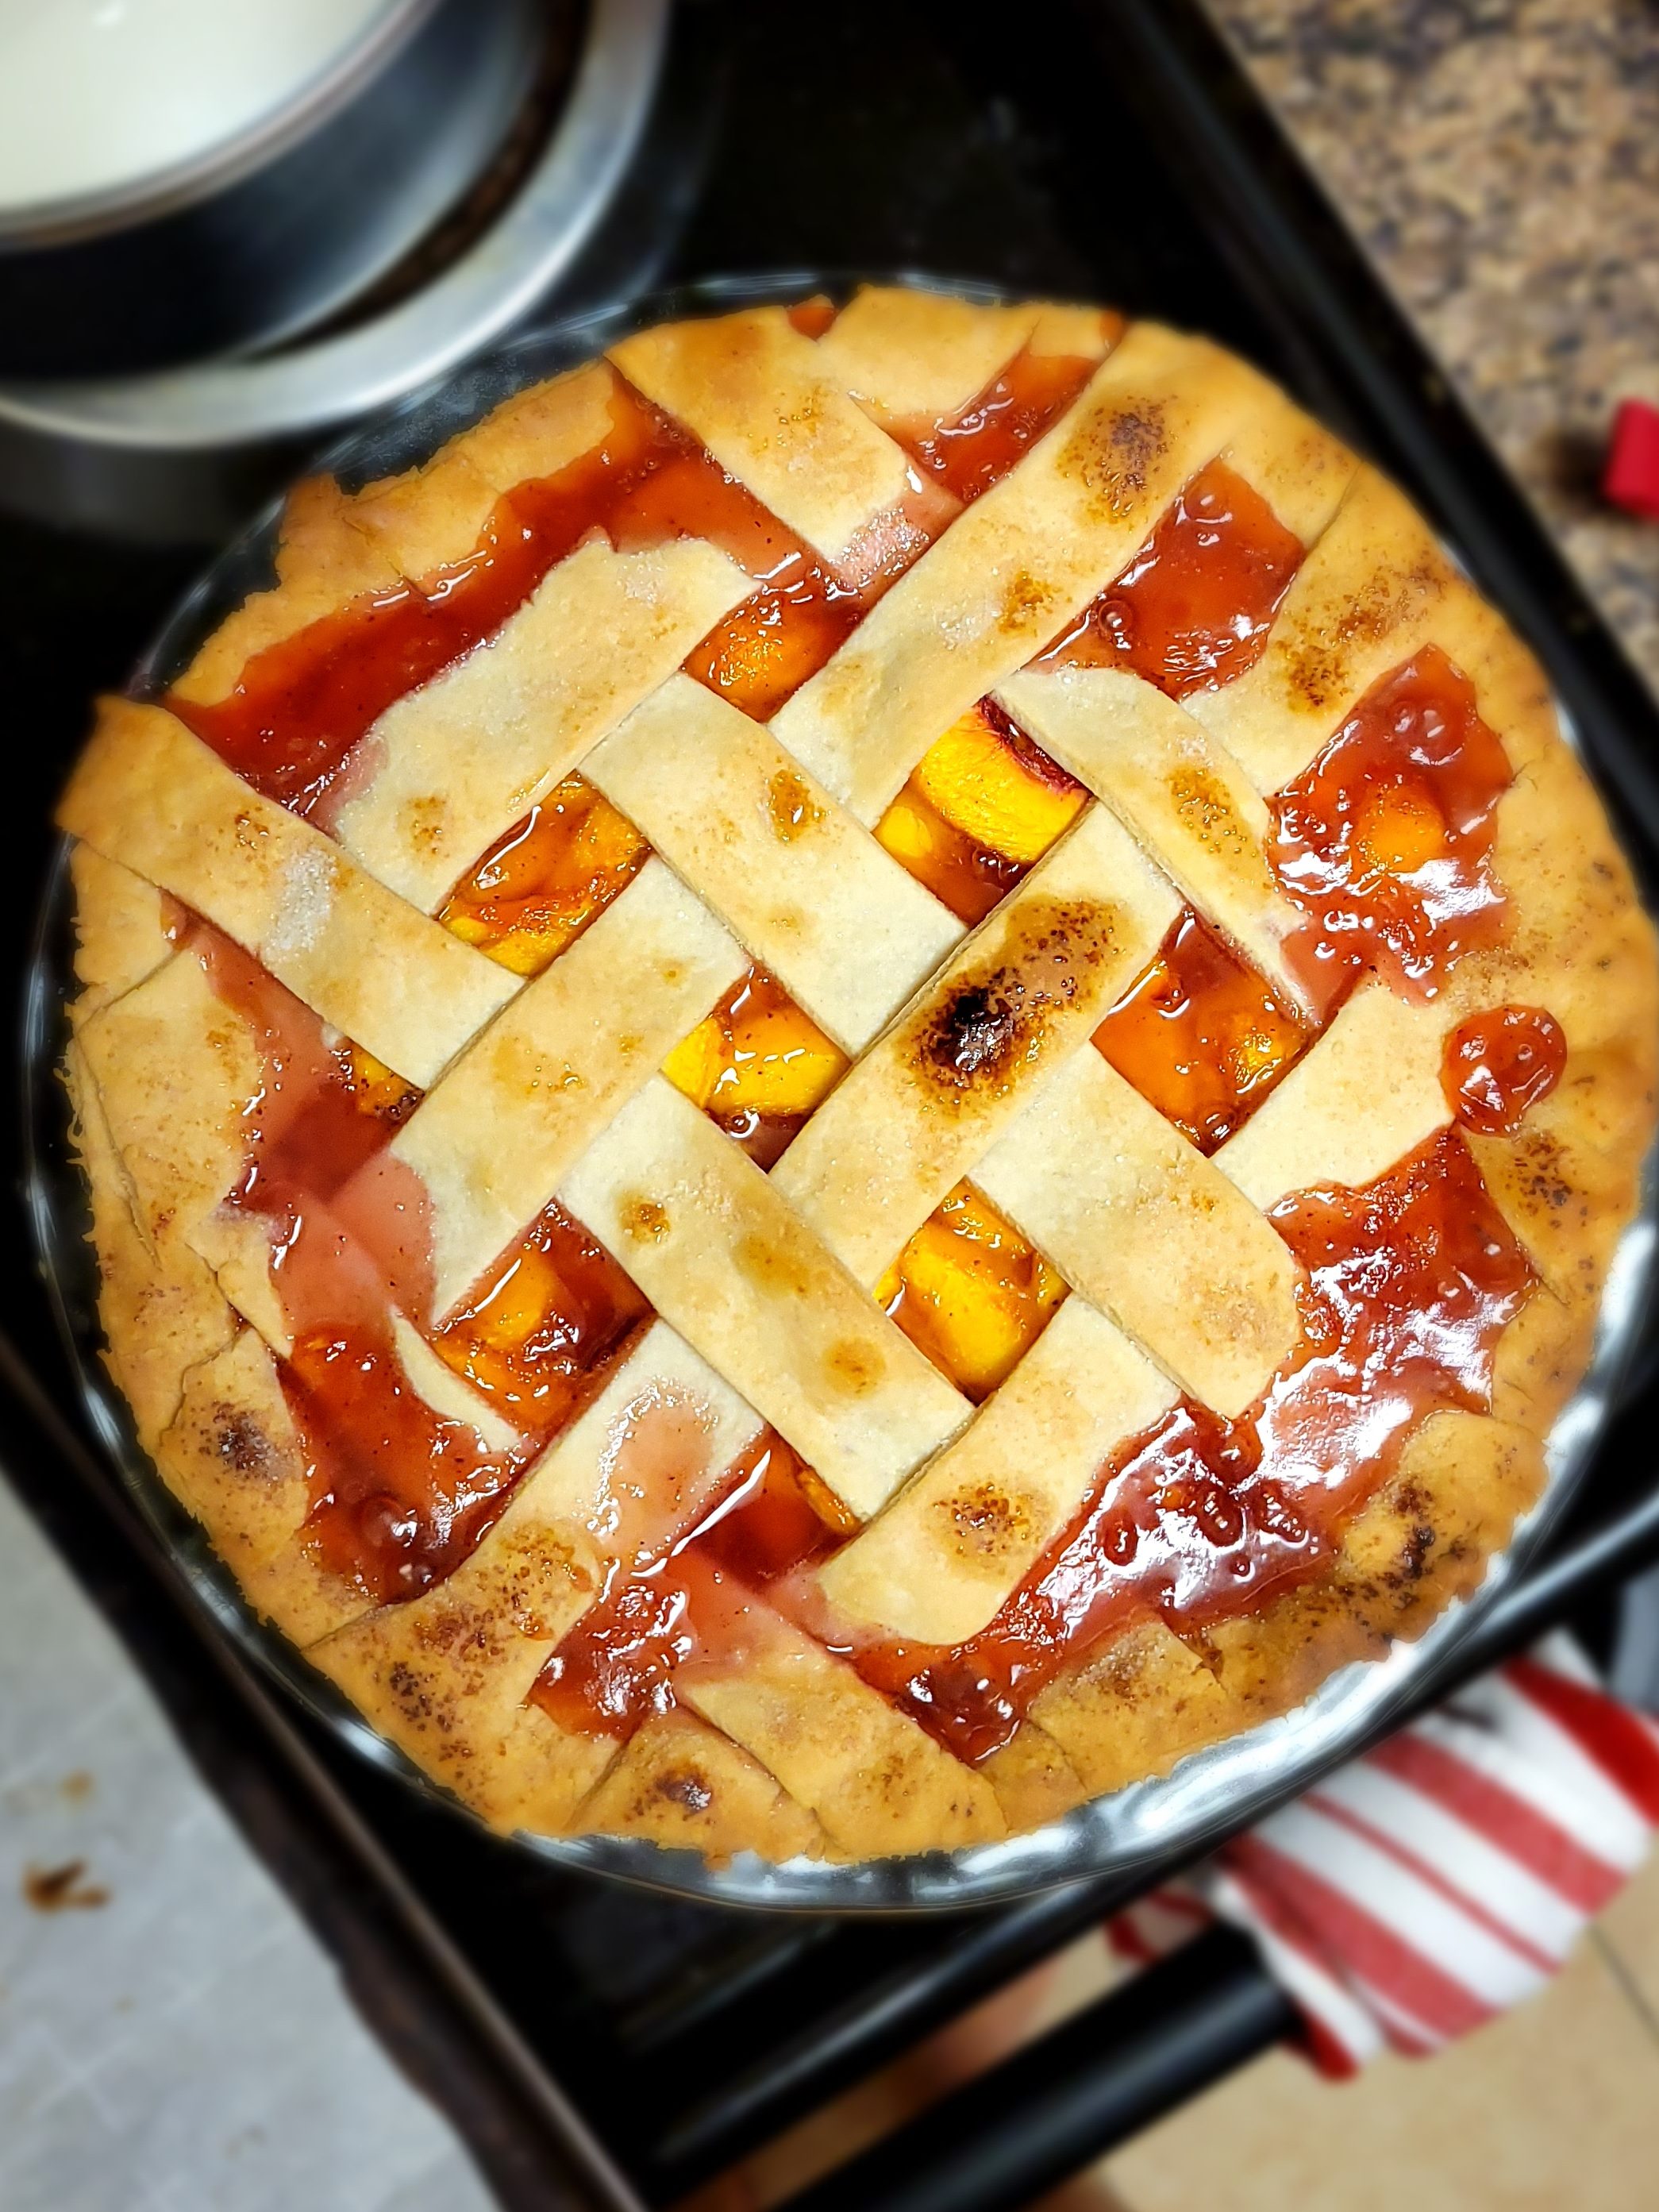
I carefully put the pie crust into the pie plate followed by the peaches which had been peeled, pitted and prepared with nearly all the other ingredients. I then proceeded to try my hand at a lattice top.
The King Arthur Baker’s Companion tells you to build the lattice top on a plate or other surface and then slide it on to the top of the pie. This did not work for me at all. I ended up just weaving the pie crust together and hoping for the best. I sprinkled sugar on top and hoped for the best.
This was not the prettiest pie I have ever seen. It was my first pie that I have ever made solo (that did not use a graham cracker crust and a filling made from a Jell-O branded box). I will say it is the best pie I have ever had.
I used the fancy filter on my new phone to capture this photo. Who knew food had a specific lens that I should use!
The crust was so delicate and cooked all the way through. No soggy bottom. No raw bits — not even where the lattice pieces overlapped.
I ate half the pie in two days and shared the rest. I don’t think that pie saw a fully 48 hours of life.
I highly recommend this pie and this crust recipe.
I made this on a whim. Not knowing what I was throwing together was probably a bit of a hindrance.
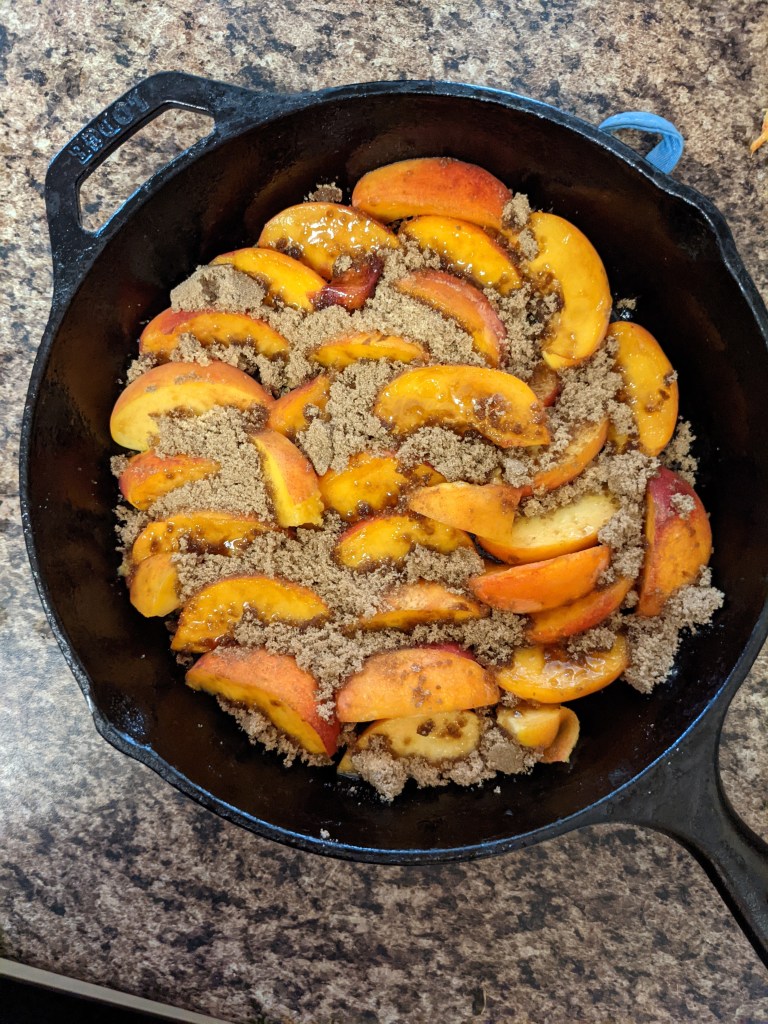
According to the Baker’s Companion, Clafouti is most often made with cherries but for this particular recipe, they modified it to use peaches. The peaches go on the bottom of a 10″ pan. I used my trusty cast iron.
I tried to arrange the peaches very nicely so that there would be a lovely presentation for the finished product.
Then I added together the rest of the ingredients. It created a really loose batter that reminded me of popovers. The main difference being the amount of flour and the addition of sugar.
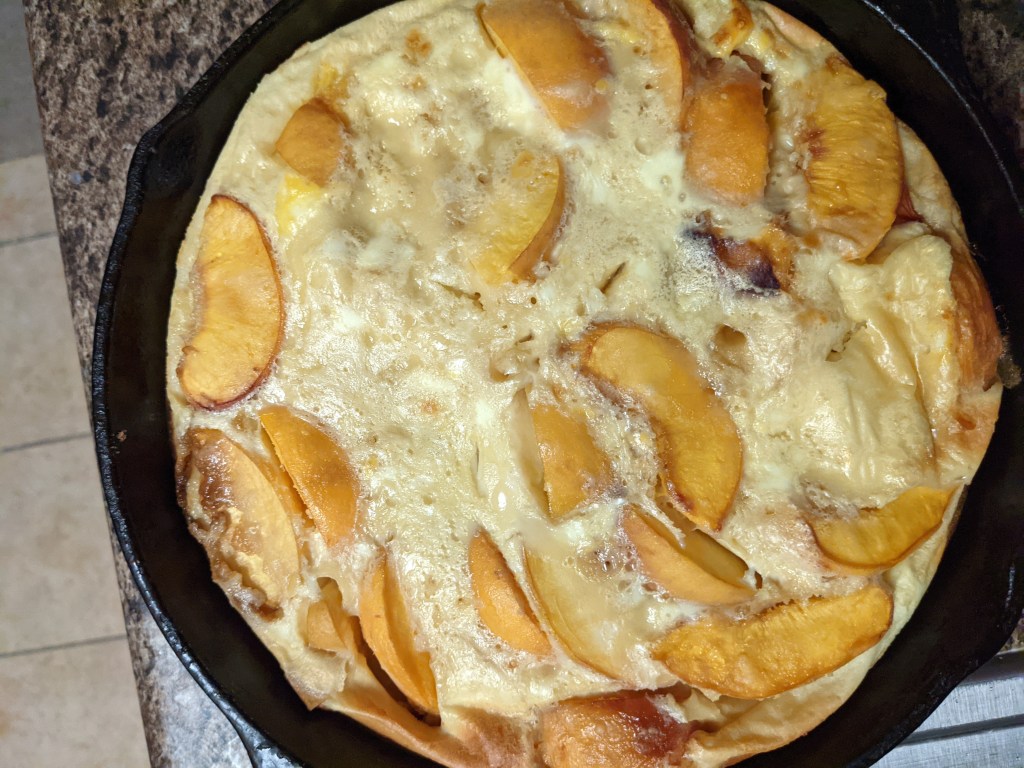
I had no idea how this would turn out so I threw it in the oven and waited anxiously. Eventually, after the 40 minute bake time, I pulled out the clafouti and decided to google what it was supposed to look like. Mine ended up being a bit pale.
As you can see, arranging the peaches did not really matter as the batter lifted and rearranged the peaches in the oven. It was like flan!! I was so surprised at the texture. It was custard-y and fruity. This recipe heavily relies on really good peaches so don’t skimp there.
It also refrigerated well. It was not pretty, but it reheated nicely.
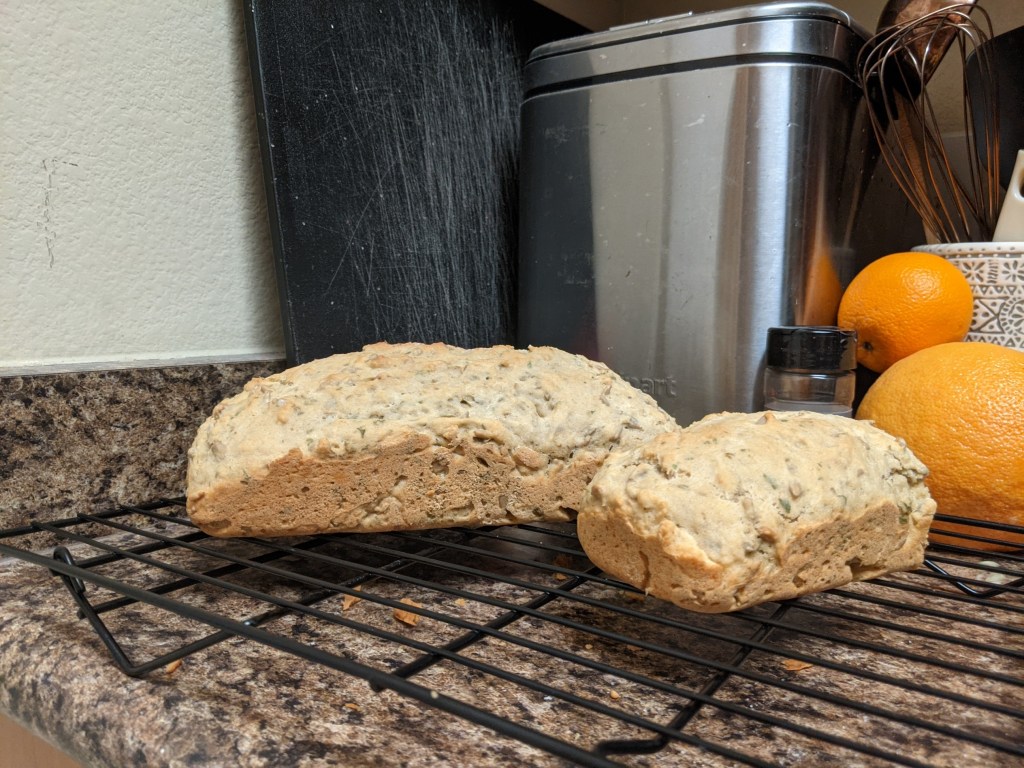
This is the easiest recipe I have ever done. No knead, ten ingredients and only one bowl. It made yummy bread. It gets weird if you don’t store it right but it freezes wonderfully.
The hops flavor gets hidden by the herbs for the most part.
There is really not much else to say on this one. I was able to bake it during a wine night with friends and did not miss a bit of conversation.
Not the most beautiful loaves, but they are tasty!
When I have extra ingredients, I just go to the index of The All-Purpose Baking Companion and look them up in the index in case there is a recipe that I have not yet done. In this case, I had extra mushrooms and the two recipes were for Crepes and another for pizza. Naturally, on a whim, I invited someone over to join me for the Savory Spinach-Filled Crepes.
I did not, however, pay enough attention to any of the timings necessary to complete this at a decent time. So what started out as an invitation to breakfast, quickly became an invitation to brunch.
I only had 2/3 of the mushrooms necessary for the spinach filling, but I found that the recipe was easily divided into thirds. Since I was only making crepes for two, I opted to halve the recipe for the crepes as well.
I started off by working on the spinach filling. (This was the wrong move okay. Make the Crepes FIRST. ) Altogether, those veggies cooked pretty quickly. It was the simplified version of béchamel that really threw me off. While making it, ingredients have to be at the ready and after the sauce was complete — it had to sit for fifteen minutes. I did not plan for the fifteen minutes, but that was fine, right?
It was certainly fine in comparison to hour long wait that I had overlooked for the crepe batter. Needless to say, this was not my best batch of crepes, so promising myself that I would have to try the recipe again, I continued making mistakes.
I did not wait the whole hour. Once the 15 minutes of wait time was complete for the spinach filling recipe, I started prepping pans and studying my crepe technique.
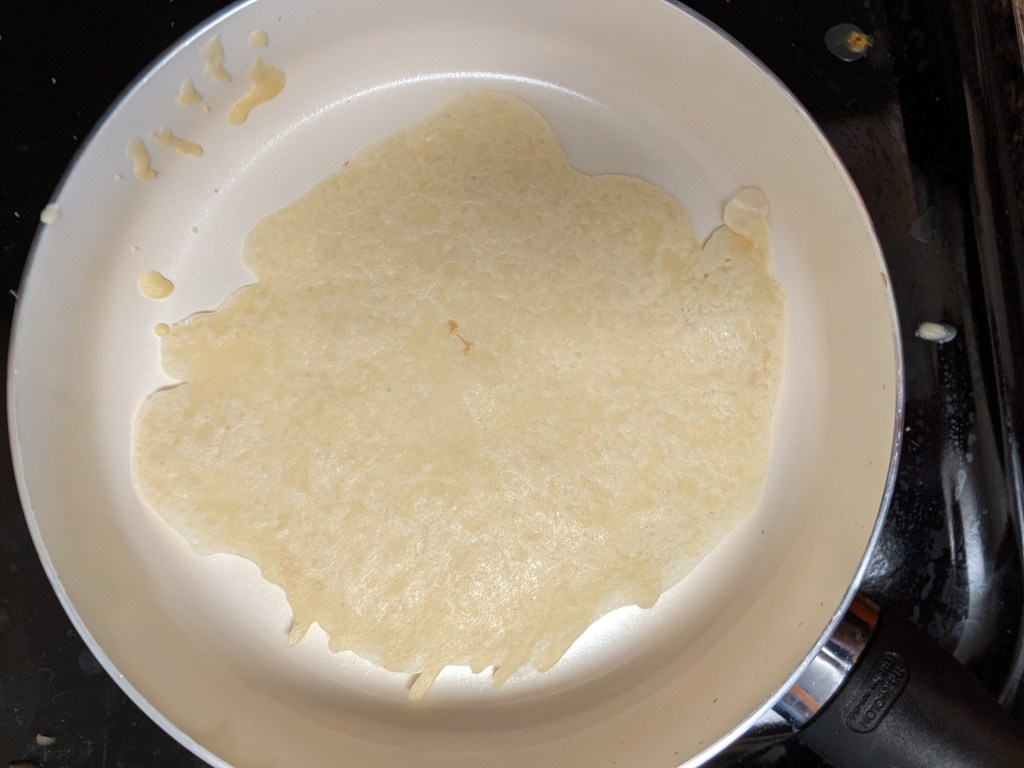
I am not very good at making pretty crepes, but that is okay. Practice might help? And maybe having a well made, slightly less lumpy batter would help as well.
it might not be round, but it sure tasted good.
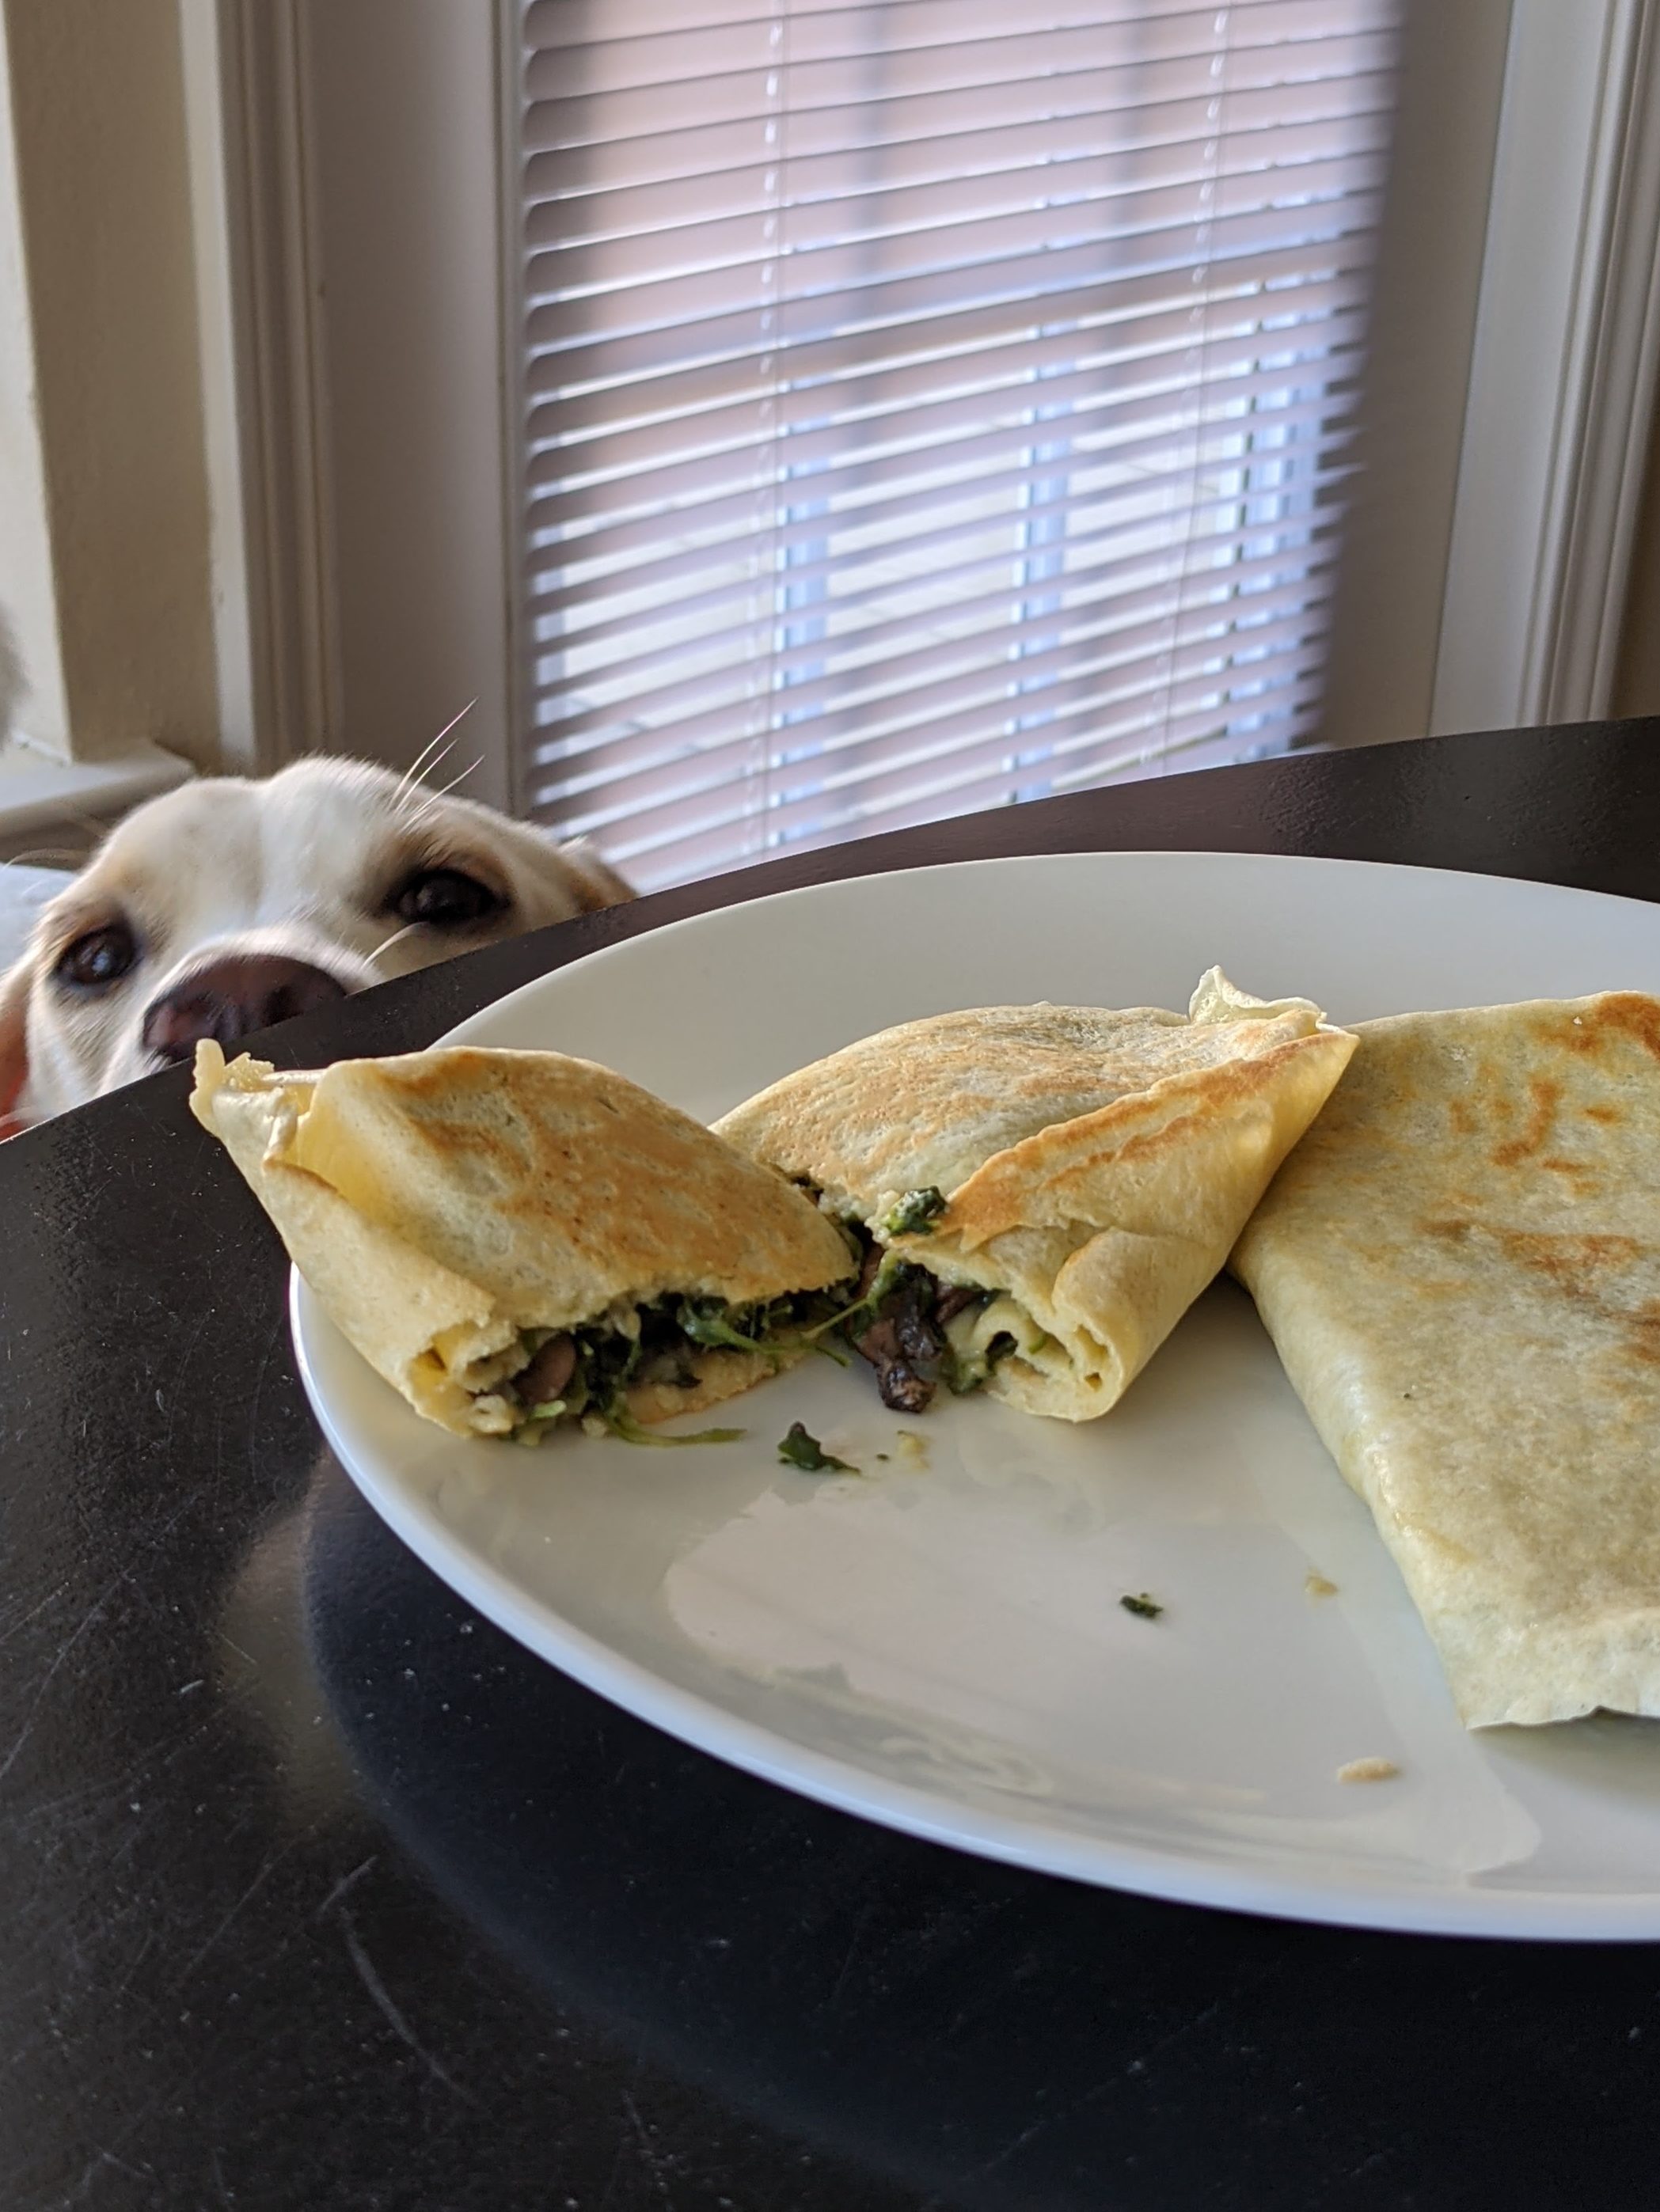
Overall, making the crepes was easy. I have made enough tortillas and pancakes to figure it out well enough. Adding the filling was a bit more difficult. I took the crepe directly from it’s pan to another, where I added the filling and rolled it up. It probably would have been smarter to let the crepes cool a bit so they were a bit easier to handle but I was in a rush so no time for logic.
They turned out well. The crepes were yummy, the filling could have used a lot more salt and pepper (my bad), and I used up all of my mushrooms!
Rusty wanted to try some but, fortunately, was too short.
I did remake this crepe recipe a few days later, knowing full well about the timings. The batter turned out much better and with fewer lumps when I was not rushing. Imagine that.
I had never heard of a slump before, but apparently it is related to a grunt. Obviously. In fact, according to myrecipes.com, they are the same thing. They “are baked or stewed fruit dishes topped with rolled biscuit dough”. The recipes for the blueberry slump is different from the blueberry grunt in the King Arthur Flour All-Purpose Baking Companion.
Turns out a blueberry slump is quite easy to make. You just have to buy a quart of blueberries and make sure the quart does not get eaten before you decide to bake. This was a problem for me and I kept being delayed as a result.
When I finally got around to making the blueberry slump, it took far less time than I could have imagined. The dish requires a syrup, dumplings, and blueberries.
The syrup has a brown sugar base with allspice and nutmeg. It smelled delicious as it heated up on the stove. I was also a bit surprised. I am not used to using allspice and nutmeg with blueberries. I really associate those spices with more wintery or Christmas dishes.
The dumplings also came together quick. It looked like any standard biscuit mixture after adding the butter but before adding the milk.
Finally, I threw it all together, the blueberries, dumplings scattered on top and syrup on top of that. It looked rather bizarre going into the oven, but looked wonderful after it had baked.
before the oven
I enjoyed the first bites within the hour and had slump for breakfast for the rest of the week. “Slump for breakfast” really does not sound very good, but I can promise that it was delicious.
I opted to freeze about a third of the slump because I could not eat the whole 9″x13″ slump by myself.